| Home | About | Treasure Troves | Newsletter | Books | Workshops | Column | Karen Cole | Site Map | Links |
| |
||||||||||
|
|
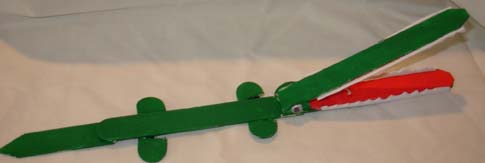
Another Big Learning Craft Stick Project... Snapping Alligator |
||
|
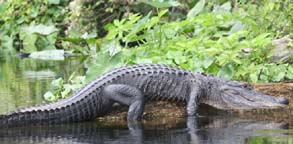
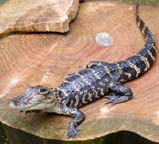
By making this alligator, kids will have a chance to measure and cut wood, sand, paint and add finishing details. They will learn to make a joint that springs open, and joints that flop around when they shake their alligator. See if they want to try to use these techniques to make other animals they design themselves. Maybe a shark with a snap-open jaw? A dog with floppy ears? Big Learning What's Big Learning? Science: This project is a good chance to do a little natural science. Use the photos of real alligators below to help your child notice and add details to the basic design we've provided. For example, your child might want to add the webbed toes we can see in the baby alligator photo, or paint the stripes the baby alligator has. Encourage your child to notice differences and similarities between the project alligator and real ones. For example, we made the snout a lot longer in proportion to the body than a real alligator's snout - we exagerated the snout because that's the part of an alligator that's most unique and fun (or scary!). Art: Another take on this project is using art techniques to express personality. Is this alligator wacky? Then maybe it needs pink polka dots. Or maybe it's scary - make the teeth bigger. Or is it evil - stick evil eyebrows on the eyes. Woodworking Craft: Snapping joint and floppy felt joints. |
||
|
And, for reference, here are photos of real alligators!
|
||
|
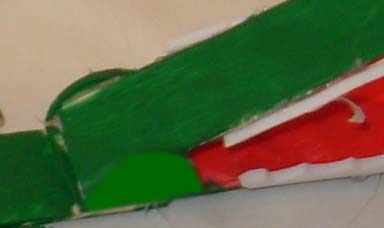
To make this snapping alligator you need: 4 large craft sticks (3/4 inches wide by 6 inches long) Hot glue gun and glue Snout Cut the rounded ends off two craft sticks - save the ends to make the four feet.
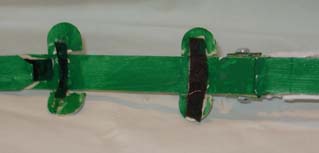
Body Attach the four feet to the third craft stick by gluing felt strips to the body and then gluing the feet onto the ends of the felt strips, as shown below. Glue one end of the body under the snout. Tail Cut the round ends off the the last craft stick and save to make the eyes. Shape a point at one to make a pointy tail. Attach to the body with felt. Eyes Use the rounded ends you saved from the tail. Glue them to the back of the snout as shown in the photo below. Wait to add wiggle eyes until you have finished painting the alligator.
Paint Sand edges and paint with craft paint. Glue on eyes. Teeth Cut four strips of white craft foam to fit the snout. Cut a jagged edge on each strip to make teeth. Glue the teeth onto the upper and lower edges of the snout. Back to the Big Learning Craft Sticks Page |
||
| ©2006 Karen Cole Privacy Policy |